


For an older oscilloscope I wanted to replace the 3.5″ floppy drive with USB. After checking for the required connector and available USB emulators, the one that I needed was the GOTEK SFR1M44-DU26 – an 1.44 MB floppy emulator with a 26pin FFC1Flat Flex(ible) Cable/FPC2Flexible Printed Circuit connector. (There’s also the SFR1M44-TU26 – which has the connector mounted the other way around but should also work.)
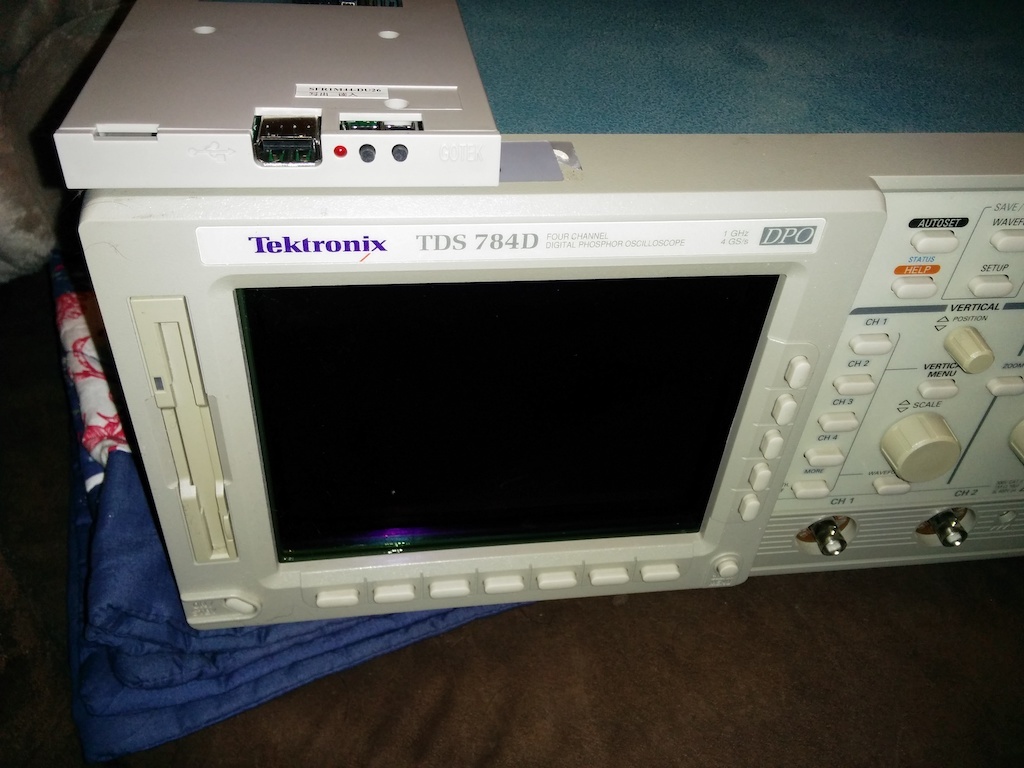
The emulator fit almost perfectly, but since it was meant to be used with some embroidery machine it was a bit short on one side. But that’s nothing to worry about – it still functions as it should.

This article could end here if the emulator worked like its siblings that have a display on the front and where you find manuals all over the Internet. But it doesn’t.
Normal GOTEK emulators all have a 3-digit numeric display on the front and you have to format the USB stick to contain numbered 1.44 MB disk image files. Using the buttons on the emulator you can select which disk image to use (indicated by the displayed number) and present to the device as a diskette.

The slim version of the emulator works completely different. First, it contains internal flash memory and ALWAYS presents an inserted disk to the device. This also means that it retains the information stored on that internal memory, i.e. if you save a file (without any USB stick attached), turn your device off and on again, you’ll still see the file you’ve saved earlier. However, there’s no way to get that file onto a USB drive – more on that later.

The emulator has two (unlabelled) buttons like its siblings. However, instead of “UP” and “DOWN” the buttons features could rather be named as “IN” and “OUT” (or “LOAD” and “SAVE”). The button near the USB port and LED is the “OUT” button and the button away from those is “IN”.
Now the best thing about this emulator: You can use bog standard USB drives and apart from formatting them with FAT32 format (exFAT doesn’t work!), you don’t have to prepare them in any way. No creation of disk images and/or special folders necessary.
So to get files onto the oscilloscope, you just have to copy whatever files you want to this USB drive, plug it into the emulator and press the IN button. What happens then is that the emulator will erase the internal memory and copy the files from the USB drive to it until it’s full. So if you have various files, it will only copy the first few that fit into the internal 1.44 MB of storage. These files will then be visible to the scope. If there are more files on the USB drive, you can press the IN button again and it’ll – again – erase the internal memory and copy the next 1.44 MB worth of files to it. Repeat until you see the file(s) you need.
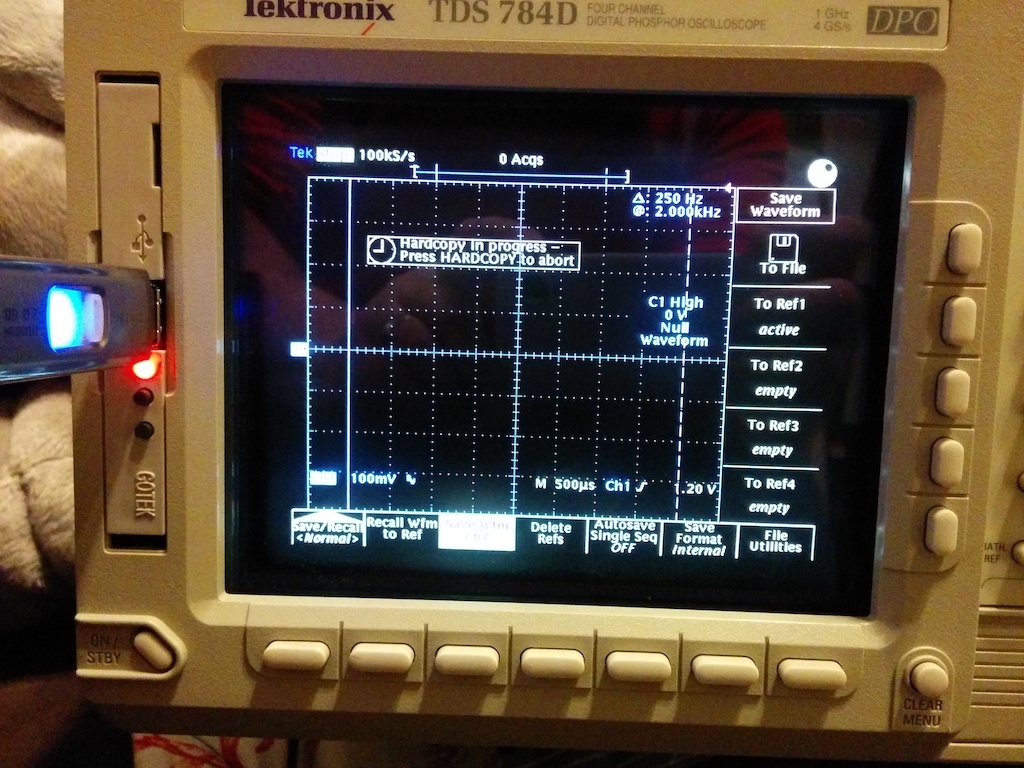
Now for the other direction. To get files from your device onto the USB drive, there’s the OUT button. If you push it, the red LED will light up to indicate to not remove the USB drive. From this moment on, all new files written to the fake disk drive by the oscilloscope will actually be stored on the USB drive. Keyword “new” – which means all files on the internal memory are left alone and there’s no way to copy them to the USB. Once you’ve finished writing your files, press the OUT button again and the LED will turn off, indicating that you can now safely remove the USB drive.
And that’s all there is to know about how this emulator works with the original firmware.
Here’s a recap in form of a PDF cheat sheet:
If you are adventurous, there’s an alternative firmware called “FlashFloppy” which also works with this model. This firmware works similar to the “big” Gotek models in that you have to put disk image files onto the USB and can then select the one to mount using the buttons. (You can also add a small display to the emulator to help with that.) This also allows to use various non-PC disk formats, e.g. 1.72 MB IBM OS/2. But I never had the urge to experiment with that.
By the way: For screenshots, I found it best to save them in EPS format. You can then convert them to PNG later by using ImageMagick:
convert -background black -density 200 screenshot.eps -flatten -rotate 90 screenshot.png(Change the density parameter to your liking.)
- 1Flat Flex(ible) Cable
- 2Flexible Printed Circuit
Pingback: Pimp my scope: Unlocking Software Features in a Tektronix TDS784D – blog.mbirth.uk